What This Article Covers
I created a mail address on my custom domain mitz17.com, then used Cloudflare Email Routing to forward incoming messages to Gmail for free.
No server setup, and almost entirely no-code.
Reference
Step 1: Open the Domain Dashboard in Cloudflare
Procedure
- Log in to Cloudflare.
- Select the target domain (in this case,
mitz17.com).

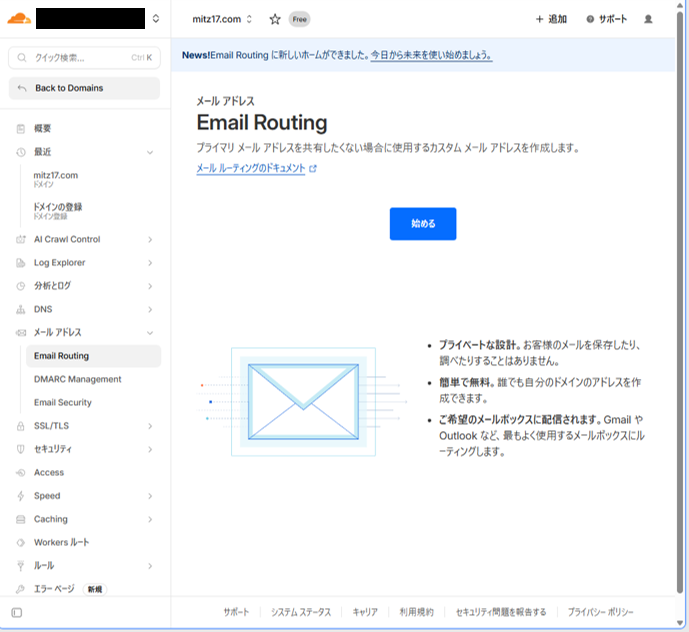
Step 2: Click the Start Button
Procedure
- Open Email -> Email Routing from the left menu.
- Click Get started.
Step 3: Configure Addresses
Procedure
- Enter your preferred address in Custom address
(example:[email protected]) - Enter the Gmail address you want to forward to in Destination
- Click Create and continue
Cloudflare sends a verification email to Gmail.
Click “Verify email address” in that message to complete verification.
Settings usually apply in a few minutes.

Step 4: Test Incoming Mail
Procedure
Send a test message from an external address.
If it arrives in Gmail, you’re done.
If not, check:
- MX records are correct
- DNS propagation is complete
- Verification has finished

Summary
I was able to receive email on my own domain using Cloudflare Email Routing and Gmail.
Receiving mail is easy.
The harder part is sending mail.
Since SendGrid’s free plan has ended, I’m currently considering Mailgun or AWS SES.
Next step: build the outbound sending setup.